
|

|
|
|
My RV-8 build
|
Date: 1-15-2012
|
Number of Hours: 2.00
|
Manual Reference: Page 7-7
|
Brief Description: Right wing fuel tank #16
|
|
Got quite a bit of work done on the right tank today. I used the micro stop and finished going slightly deeper with the countersink to accommodate the proseal on the skin.
I finished deburring the baffle, double checked the innards of the tank and cleaned the rivet line and surrounding area,. and the baffle with acetone. I placed a strip of electrical tape along the baffle edge line to keep the proseal nice and neat there. I also had the 41-H rivets soaking in acetone so that they were nice and clean.
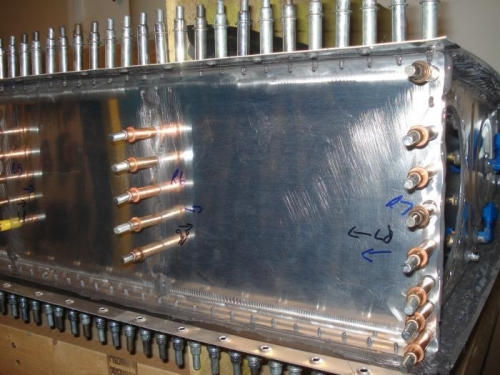
I had a 3.5 ounce of proseal from Van's, mixed it up, and fayed a bead along the rivet line, the flange of the inboard/outboard ribs, and a dab at each hole that was getting a pop rivet.
Once the baffle was in place, it was 100% clecoed, and the rib flanges were clecoed to the baffle. The rivets were twirled in sealant, inserted into the rib flange/baffle at the top and bottom, and they were set in place.
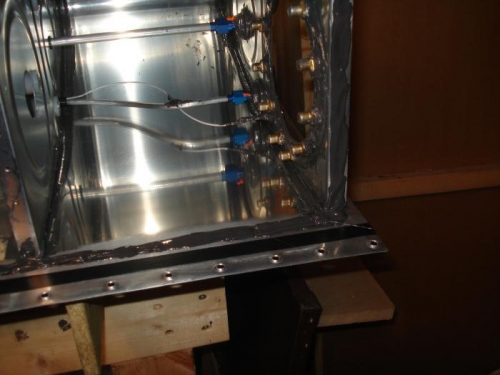
Made sure that the gaps at the skin/baffle/rib flange had plenty of sealant. I also used a popsicle stick to make a nice bead on the skin/baffle joint.
The heads of the pop rivets were given a dab of sealant. I'll let it setup for a couple of days before I wet set the skin/baffle rivets and mount the Z brackets. I grinded down my pop-riveter to do that task.
|
|
sealant applied on the rivet line.
|
|
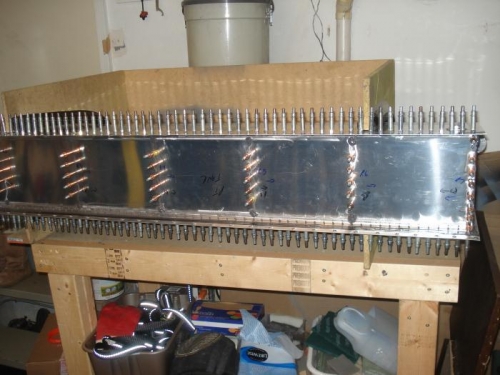
Baffle in place and 100 % clecoed
|
|
The joint was then fayed with a popsicle stick
|
|
|
|
|
|
|
|
|
Copyright © 2001-2024 Matronics. All Rights Reserved.
|